How to Delete a Facebook Group (Complete Guide)

Facebook Groups provide a space for people with shared interests to come together, interact, and engage in discussions. However, there may come a time when a group no longer serves its purpose, and you might want to delete it. Whether it’s due to inactivity, a change in direction, or simply because the group has outlived its usefulness, deleting a Facebook group is a straightforward process if you follow the right steps.
In this article, we’ll guide you through the process of how to delete a Facebook group, explain what happens after you delete a group, and provide useful information on how to manage groups in the future.
What Is a Facebook Group?
A Facebook Group is a space within Facebook where members can communicate, share content, and collaborate on topics of interest. Groups can be public (anyone can join or view), closed (only members can see posts), or secret (only invited members can join and see posts). Facebook Groups are often used for everything from community building to hobby groups, business discussions, and social causes.
As a group admin, you have full control over the group’s settings and can make decisions like adding or removing members, changing group settings, and deleting the group. But keep in mind that deleting a group is permanent, and once it’s gone, it cannot be undone.
What Happens When You Delete a Facebook Group?
Before you decide to delete a Facebook group, it’s important to understand what happens when you do.
| All Content Is Deleted | Deleting a group removes all the posts, photos, discussions, and files shared in that group. After deleting the Facebook group, you can’t recover the content. |
| Members Are Removed | When you delete the group, all members will be removed from it. They will no longer have access to the group or its content. |
| Group Name and Details Are Gone | The group name, description, and other details will be erased. |
| Permanent Action | Deleting a group is permanent. Once the group is deleted, it cannot be recovered. If you are unsure, you can consider archiving the group instead. |
Now that you understand the consequences of deleting a Facebook group, let’s look at the steps to actually do it.
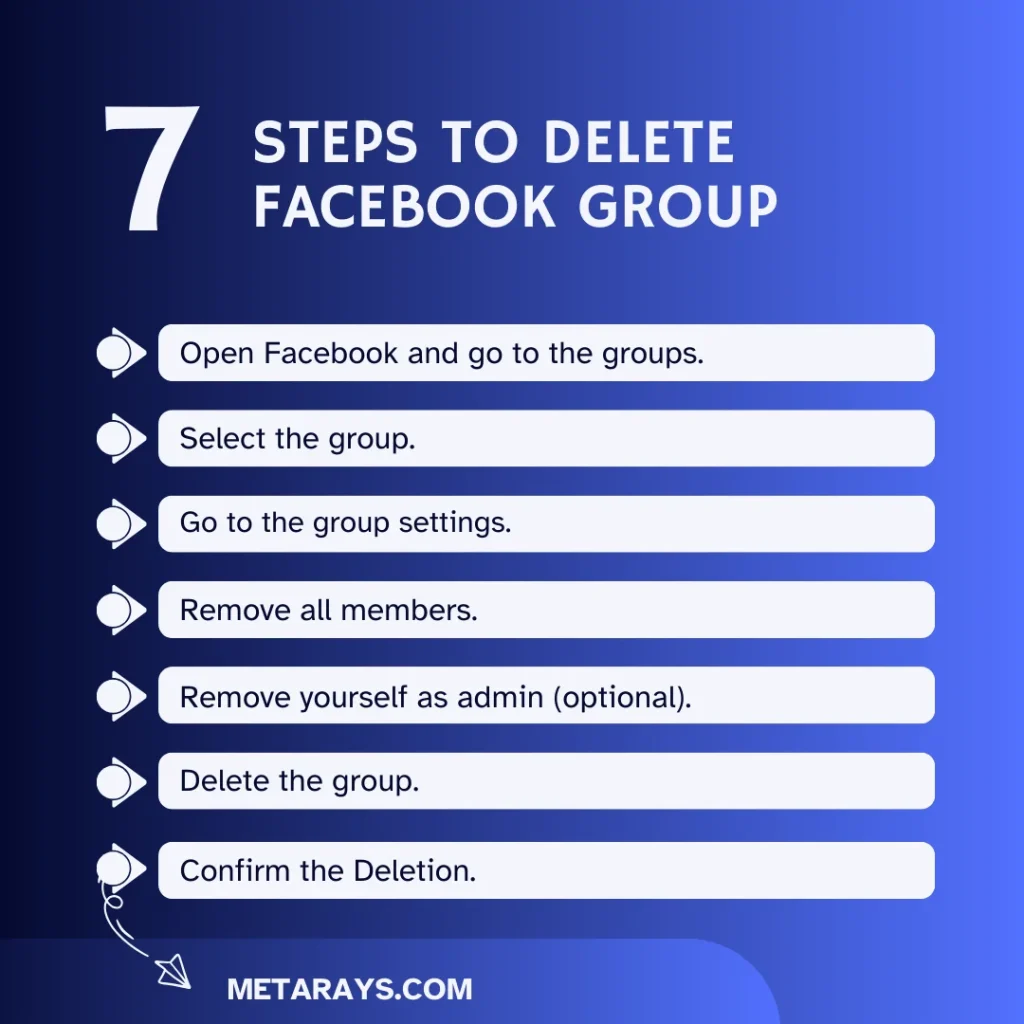
Steps to Delete a Facebook Group
Follow these simple steps to permanently delete a Facebook group you created. Please note that you must be an admin of the group to delete it.
1. Open Facebook and Go to the Groups
- Desktop: Log into Facebook on your computer and go to the Groups section in the left-hand menu. You can find this under Explore.
- Mobile App: Open the Facebook app, tap the three horizontal lines (menu) in the top-right corner (for Android) or bottom-right corner (for iPhone), and scroll down to Groups.
2. Select the Group You Want to Delete
Once you’re in the Groups section, find and select the group you want to delete. Click or tap on the group’s name to open the group page.
3. Go to Group Settings
- Desktop: On the group’s page, click More under the group’s cover photo and then select Edit Group Settings.
- Mobile App: On the group’s page, tap More (the three dots) near the top of the screen and then choose Group Settings.
4. Remove All Members
If you want to delete the Facebook group, you must remove all members first. This is an important step before deletion.
- Desktop: In the group settings menu, scroll down to the Members section. Here, you can manually remove members by clicking the three dots next to their name and selecting Remove from Group.
- Mobile App: Tap on Members, then tap the three dots next to each member’s name and select Remove from Group.
Repeat this process for every member until only you remain as the admin.
5. Remove Yourself as the Admin (Optional)
Once all members are removed, you will be the last member left in the group. To delete the group, you must also remove yourself as the admin.
- Desktop: Go to the group settings and find your name in the Members section. Next to your name, click Remove as Admin. In this way, you can delete the Facebook group.
- Mobile App: Tap on your name in the Members section and select Remove as Admin.
6. Delete the Group
Now that there are no members left and you’ve removed yourself as admin, you can finally delete the group.
- Desktop: In the group settings, scroll down and click Delete Group. A confirmation message will appear asking if you are sure you want to delete the group. Click Delete to confirm.
- Mobile App: Tap on Delete Group in the group settings, and then confirm the deletion by tapping Delete again.
7. Confirm Deletion
Facebook will prompt you to verify that you wish to delete the group. Once you confirm, the group will be deleted permanently.
What to Do If You Don’t Want to Delete the Group Permanently
If you’re unsure whether deleting the group is the right decision or if you just want to take a break, you can choose to archive the group instead of deleting it. Archiving a group keeps it in a non-active state, meaning members can’t post or comment, but the group and its content will still be available to view.
To Archive a Group:
- Desktop: Go to the group page, click More, and then select Archive Group.
- Mobile App: Tap More and select Archive Group.
This action will prevent members from posting or interacting with the group but won’t delete any content. You can unarchive the group at any time if you decide to bring it back to life.
Things to Consider Before Deleting Your Facebook Group
Before you delete a Facebook group, here are a few things to consider.
| Content Deletion | Deleting the group means all posts, photos, and discussions are lost forever. Make sure to save any important content before you delete the group. |
| Group Purpose | Ask yourself if the group still serves its original purpose. If it no longer does, archiving may be a good option. |
| Communicating with Members | If the group is active and has many members, it might be a good idea to inform them before you delete the group. This way, they can save any valuable content or connections from the group. |
| Alternative Actions | If you’re no longer interested in managing the group but don’t want to delete it, consider making someone else an admin or reducing your role to a member. This can keep the group alive and functioning without your involvement. |
Frequently Asked Questions
Final Words
Deleting a Facebook group is a permanent action, and once it’s gone, all content and members are removed. If you no longer need the group or it has become inactive, following the steps above will help you delete the group without much hassle. However, if you want to keep the group’s content while stopping activities, consider archiving it instead. Remember to communicate with members before taking drastic actions, especially if the group was once active. Managing Facebook groups can be a great way to stay connected with like-minded individuals, but sometimes, knowing when to let go is just as important.